If you’ve ever dreamed of making creamy, velvety milk chocolate right in your own kitchen, this is your moment. No need for specialized equipment or obscure ingredients—just pure chocolate bliss made from scratch with everyday items. Whether you're a beginner or a seasoned home cook, this guide will show you how to create the perfect milk chocolate bar, every single time.
Why Homemade Milk Chocolate is the Ultimate Treat
When you make milk chocolate at home, you control everything—the quality of the ingredients, the level of sweetness, and even the texture. Unlike many commercial chocolates filled with additives and preservatives, this recipe focuses on authentic flavors and natural richness. Homemade chocolate also lets you explore creative variations like nuts, spices, or dried fruit.
Essential Ingredients for the Perfect Milk Chocolate
Creating milk chocolate is all about balance. Each ingredient plays a key role in developing that iconic smooth flavor. Here's what you need:
-
1 cup cocoa butter (food-grade, not deodorized)
-
¾ cup cocoa powder (unsweetened, high quality)
-
1 cup powdered sugar (sifted)
-
½ cup whole milk powder
-
1 tsp vanilla extract
-
Pinch of salt
Optional but recommended:
-
1 tbsp lecithin (soy or sunflower) – improves smoothness and shelf life
-
Chopped nuts, dried fruits, or crushed cookies – for texture and flair
Tools You’ll Need for Chocolate Perfection
You don’t need fancy tools, but a few basics will help:
-
Double boiler or heatproof bowl over saucepan
-
Silicone spatula
-
Kitchen thermometer
-
Chocolate molds (optional but highly recommended)
Step-by-Step Instructions to Make Game-Changing Milk Chocolate
Step 1: Gently Melt the Cocoa Butter
Place your cocoa butter in a heatproof bowl over a saucepan of simmering water. This gentle, indirect heat prevents scorching. Stir frequently with a silicone spatula until completely melted. Aim for a temperature between 104°F and 113°F (40°C–45°C).
Step 2: Blend in the Cocoa Powder
Once the cocoa butter is fully melted, gradually sift in the cocoa powder while stirring continuously. This helps avoid lumps and ensures a silky texture. Stir until the mixture is glossy and uniform.
Step 3: Sweeten the Deal with Sugar and Milk Powder
Lower the heat slightly, then add the powdered sugar and milk powder, a bit at a time. Stir constantly to prevent clumping. At this point, the chocolate will start to thicken and take shape. If you’re using lecithin, add it now for a smoother, more stable texture.
Step 4: Infuse Flavor with Vanilla and Salt
Add the vanilla extract and a small pinch of salt to enhance the chocolate’s complexity. These ingredients elevate the richness and make the final product taste more rounded and indulgent.
Step 5: Temper the Chocolate (Optional but Recommended)
Tempering gives chocolate that professional snap and shine. To temper:
-
Cool the mixture down to 82°F (28°C) by stirring continuously.
-
Gently reheat to about 88°F (31°C).
-
Keep within this range as you pour into molds.
This step ensures that your chocolate won’t bloom (develop white streaks) and will stay crisp and beautiful.
Step 6: Pour, Customize, and Set
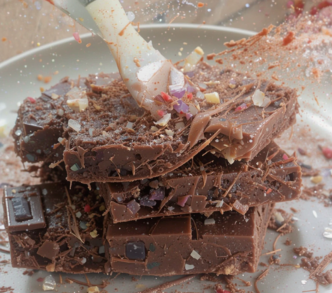
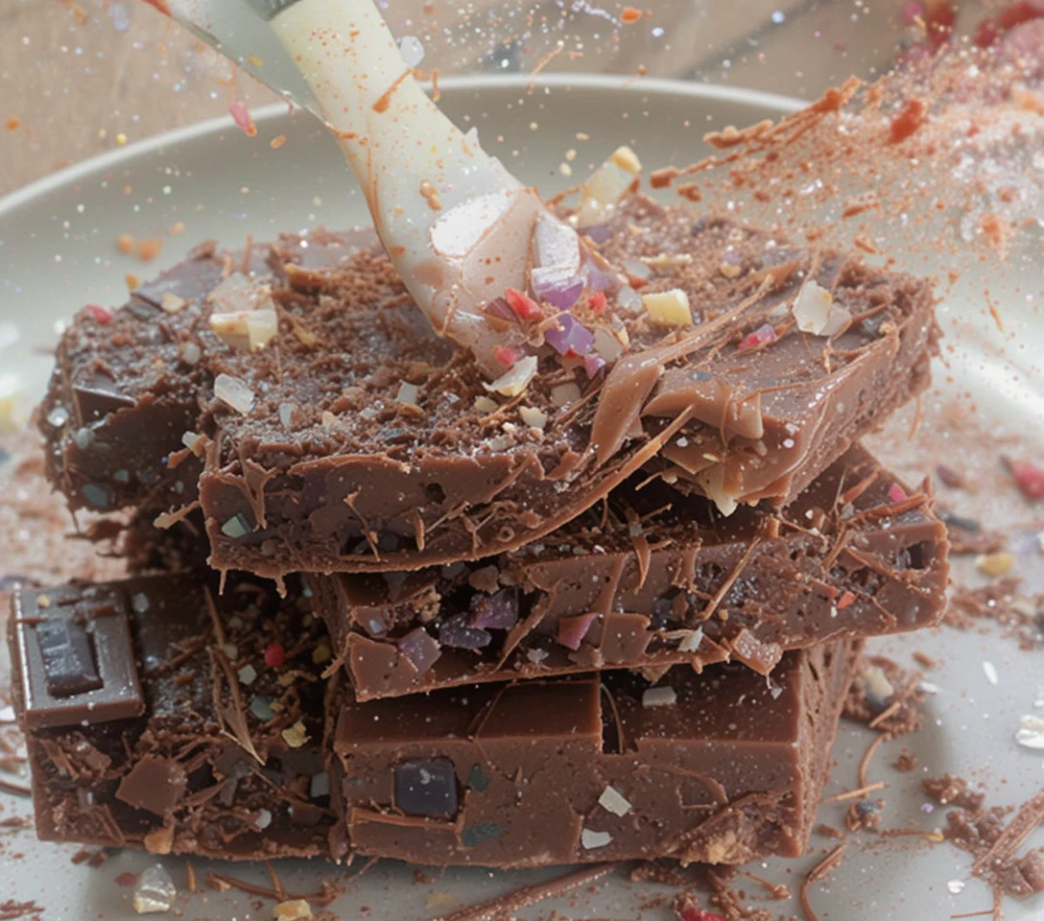
Pour the finished chocolate into silicone molds. You can mix in chopped hazelnuts, almonds, toffee bits, or swirl with peanut butter for a personalized touch.
Let the chocolate cool at room temperature until set, or refrigerate for faster results.
Storage Tips to Keep Your Chocolate Fresh and Flavorful
Store your homemade milk chocolate in an airtight container in a cool, dry place, ideally between 60°F and 70°F (15°C–21°C). Avoid the fridge unless necessary, as condensation can affect texture and flavor.
Homemade chocolate will stay good for up to 2-3 weeks, though we bet it won't last that long!
Delicious Variations You Can Try
Now that you've mastered the basics, here are some irresistible twists:
-
Sea Salt Caramel Milk Chocolate – Swirl in soft caramel and sprinkle sea salt before setting.
-
Spiced Chai Milk Chocolate – Add cardamom, cinnamon, and nutmeg for a warming kick.
-
Coconut Crunch Milk Chocolate – Fold in toasted coconut flakes for a tropical note.
-
Espresso Infused Milk Chocolate – Mix in 1 tbsp of finely ground espresso beans for a mocha-like bite.
Troubleshooting: What to Do If Something Goes Wrong
-
Chocolate too thick? Add a bit more melted cocoa butter.
-
Grainy texture? Make sure sugar and milk powder are fully dissolved and sifted before adding.
-
Chocolate separates? Stir continuously and maintain steady heat to prevent splitting.
-
Bloomed or streaky chocolate? Tempering was skipped or done improperly—review temperature steps.
Why This Recipe is Truly a Game-Changer
This milk chocolate recipe combines the ease of preparation with luxurious, gourmet flavor. By using just a few key ingredients, you unlock a world of creativity and indulgence. From snack bars to gifts, this chocolate is ideal for any occasion—and it’s guaranteed to impress.
Even better, this method gives you total control over sweetness, creaminess, and add-ins, making it far superior to most store-bought options. It's more than a recipe—it’s a chocolate revolution in your kitchen.
